
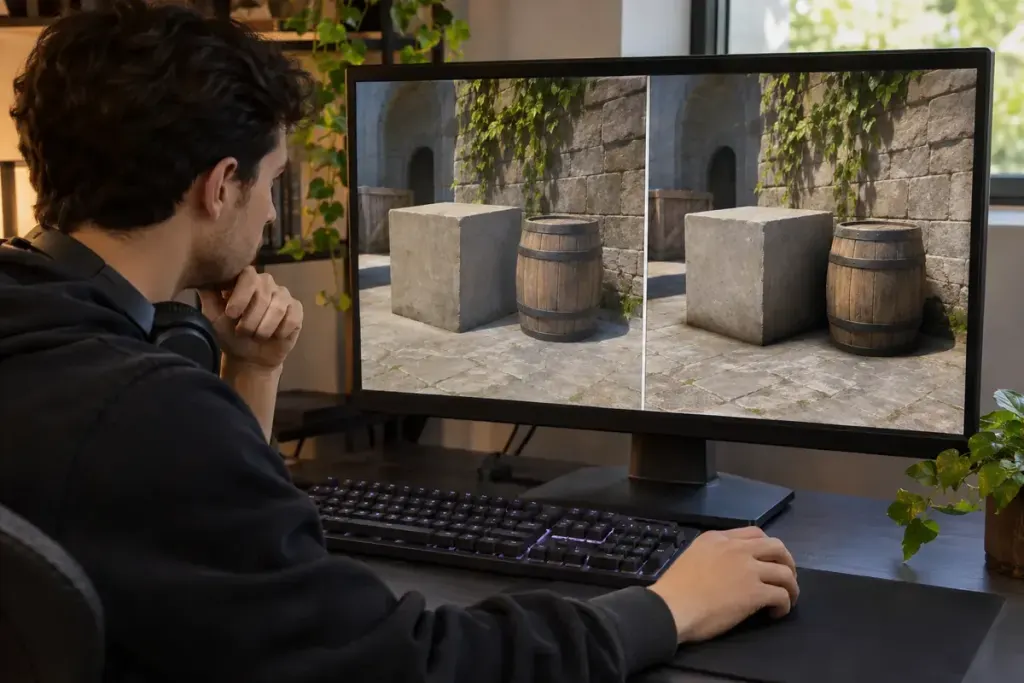
A crate meets the floor, and the narrow area around its base becomes darker when ambient occlusion is enabled. The object can appear more firmly grounded even though its shape has not changed. The setting is adding a kind of shading cue.
NVIDIA’s technical discussion of ambient occlusion describes approximating aspects of environment lighting by considering how geometry limits exposure. Creases and contact areas are useful places to look for the effect. This is a general rendering concept, not a specification for every game’s implementation.
Choose a scene that makes the difference visible
Find a stable scene with objects resting on a surface, corners or overlapping forms. Keep the camera and other settings unchanged, then compare the available ambient-occlusion modes. Look around the contact areas rather than expecting the whole picture to brighten or darken uniformly.
An original comparison might use a stack of boxes in a practice area. With the setting changed, inspect where one box sits against another and where the stack touches the floor. The exercise isolates a visual cue; it does not measure the entire lighting system.
Do not treat every dark edge as correct
Different methods have different information and limitations. A dark halo, an unstable edge during motion or a change near the screen boundary may deserve attention when comparing modes. Check moving scenes as well as a still image.
Ambient occlusion does not replace all direct shadows, reflections or indirect illumination. NVIDIA’s earlier treatment places it within a broader lighting discussion. A game’s menu may combine several effects, so consult its own descriptions when available.
Finally, compare performance in the same scene and choose the result that suits the game and hardware. A stronger effect is not automatically more convincing. The useful test is whether it improves the relationships between surfaces without adding distracting artefacts or an unacceptable performance cost.