
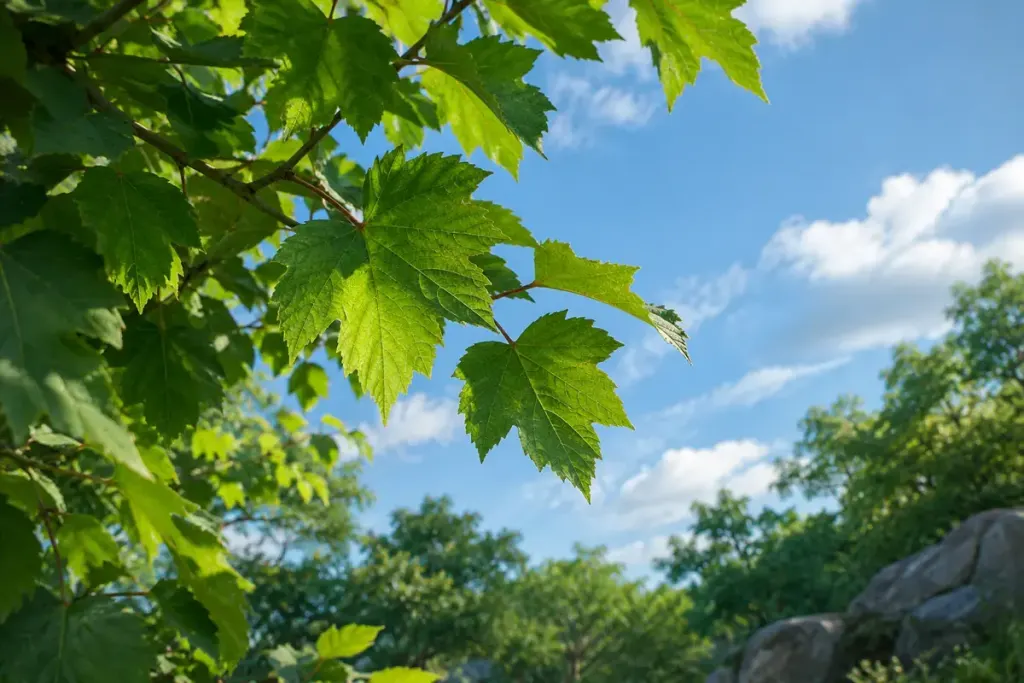
A leaf in a game may be drawn on a simple polygon whose texture defines the leaf’s outline. A hard cut between visible and invisible texture pixels can leave a jagged edge. Alpha-to-coverage offers one way to soften that boundary when multisampling is in use.
Microsoft’s Direct3D documentation describes converting an alpha value into a mask over the available samples. Instead of treating the whole pixel as only present or absent, the technique can cover a proportion of its samples.
Think about coverage rather than a glass pane
The useful distinction is between how much of a pixel is covered and how translucent a material is meant to be. Alpha-to-coverage is especially associated with textured cutouts such as overlapping foliage. It is not a universal replacement for correctly rendering transparent glass or several translucent layers.
The number of samples limits the available coverage steps. The exact result also depends on the renderer and hardware behaviour. A settings label therefore cannot tell you how every plant in every game will look.
Inspect the edge in motion
For a comparison, choose a scene with fine leaves against a contrasting background. Hold the camera still, then move slowly past it. Notice the outline, any visible stipple and whether the edge changes distractingly during motion.
Keep resolution, other anti-aliasing settings and the scene fixed while changing the relevant option, if the game exposes one. Otherwise, a comparison may attribute changes from several rendering features to alpha-to-coverage alone.
Do not assume a technique that works well on one object improves all materials. A dense hedge and a smooth transparent window ask different questions of the renderer.
Understanding the term makes graphics discussions more precise. You can describe the particular cutout edge and its motion, rather than treating every partially visible pixel as the same kind of transparency problem.